Contents
In this guide you will learn how to open Network Connections on Windows 10 from CMD (Command Line), PowerShell, Run dialogue, Settings app and Control Panel.
Network Connections is a Control Panel applet but it is still actively used in Windows 10 because Microsoft has not developed its substitute in modern Settings app.
Admins and experienced users often need to launch the Network Connections applet for various purposes: change the IP-address for Wi-Fi or Ethernet connection, enable / disable IPv6, assign Google DNS for the current PC, etc.
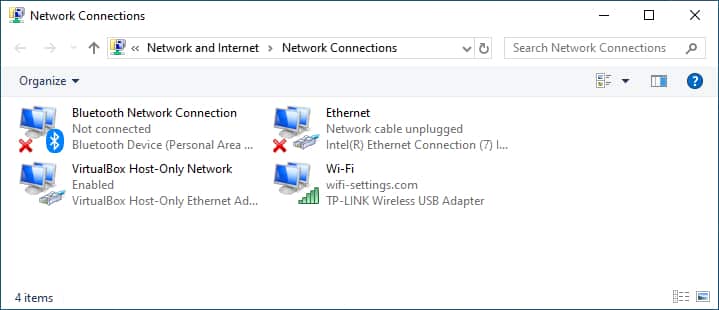
No matter which method you use, you will see the same Network Connections applet open:
Open the Network Connections Applet Using Run Dialogue
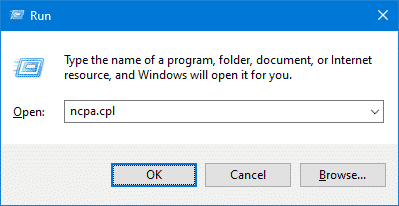
You can open the applet using the command right from the Run dialogue without actually launching command line (a.k.a. cmd):
- Press Win+R key combination
- Type ncpa.cpl (you can copy and paste the command into the “open” field).
- Hit Enter or click OK:
Open Network Connections from CMD
- Press Win+R.
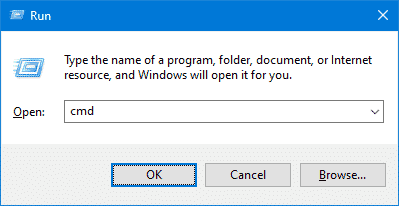
- Type cmd
- Hit Enter or click OK to launch Command Line:
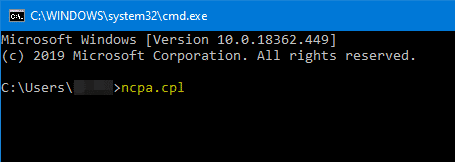
- type ncpa.cpl
- Hit Enter:
Open Network Connections from PowerShell
Almost the same steps:
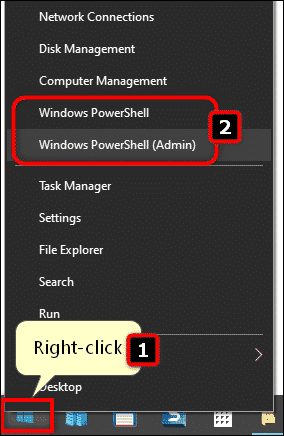
- Right-click the Windows 10 Start Button.
- Select Windows PowerShell or Windows PowerShell (Admin):
- Type ncpa.cpl
- Hit Enter:
Open the Network Connections Applet from Modern Settings App
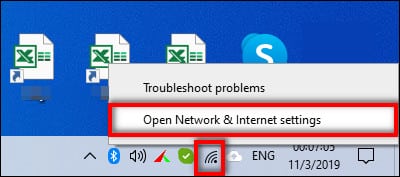
- Right-click the network icon in the Taskbar and select Open Network and Internet settings:
Alternatively you can open the Settings app from Start menu, Action Center or by pressing Win+I key combination and click on the Network & Internet section:
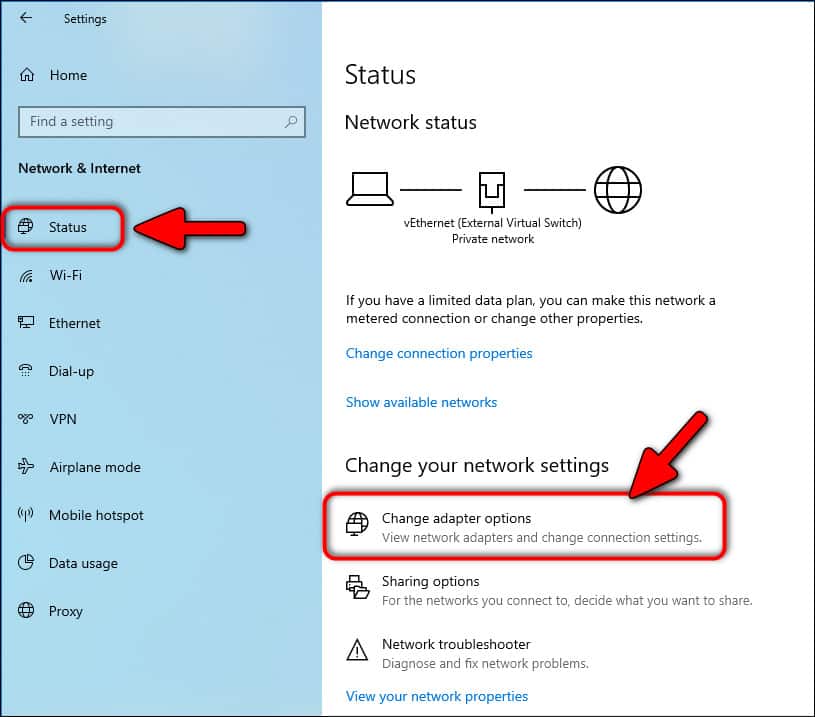
- Select Status in the left pane.
- Click on the Change adapter options link:
It will bring you directly to Network Connections.
Open Network Connections from Control Panel Itself
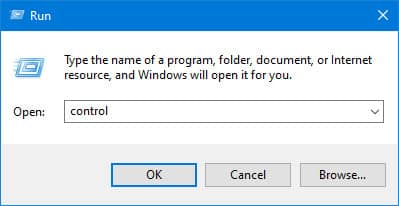
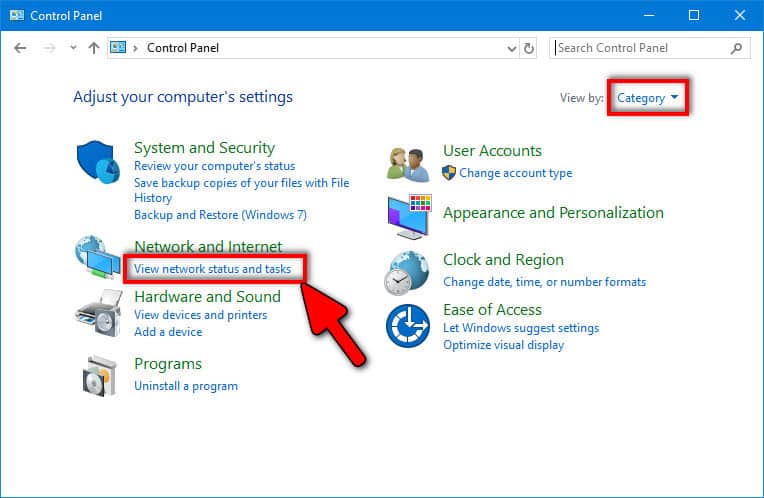
- Open the Control Panel. In the latest build of Windows 10 the fastest way to do it is to press Win+R key combination, type control and hit Enter:
- If the Category view is selected, click on View network status and tasks:
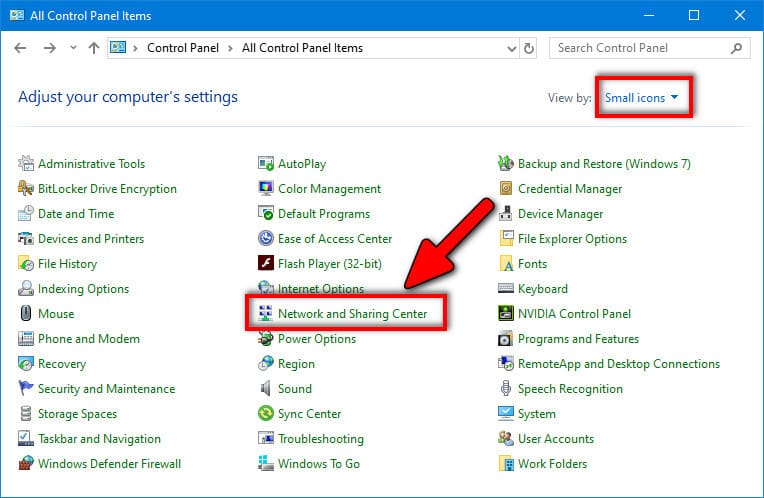
- If the Small icons view is active, click on Network and Sharing Center:
Either way, the Network Connections applet will show up.
Thank you.

 Alternatively you can open the Settings app from Start menu, Action Center or by pressing Win+I key combination and click on the Network & Internet section:
 Either way, the Network Connections applet will show up.
Very useful tips
But how do you do it elevated? This is great if your already running as an administrator, but how do you do this from a regular user account? RunAs and starting cmd as Administrator doesn’t work. If you right-click the Properties of an adapter, it’s greyed out. Thanks
A 6th Way To Open “Network Connections” – I looked at your CMD and POWERSHELL methods, and simplified: Create a new desktop Shortcut: When the windows shortcut wizard prompts you to “Type the location of this item”, reply ncpa.cpl – Click Next. – On the next screen “Type a name for this shortcut”, – Click Finish, and you’re done! (The shortcut “target” automatically gets stored by the wizard as: C:\windows\system32\ncpa.cpl with a type of Control Panel Item)
I’m on Windows 10 Pro, version 20H2 OS Build(19042.867).
how do i like control the network so that only the devices that i chose from can use the internet
Hi,
another way to do it (CMD or PS):
control netconnections
Greetings Drew